Fr:BuildingsFrom Globulation2
Les batiments servent à créer, entretenir et entrainet vos globs. Vous devrez vous habituer à commencer une partie de Globulation 2 par construire une ville. ContentsGestion des batimentsDans l'écran de jeu, les batiments sont affichés avec quatre lignes de points autour :
Les points remplis (verts, jaune ou blancs) représentent l'état actuel (par exemple le stock courant), les points vides (noirs) représentent la capacité disponible (par exemple le places de stockage libres). Ces quatre lignes de points n'existent pas pour tous les batiments, une école ne stockant rien, la ligne ne gauche est inutile. Vous pouvez sélectionner un batiment en cliquant dessus. En maintenant le bouton de la souris appuvé après avoir cliqué sur un batiment, un cerle apparait autour de toutes les ouvrières travaillant actuellement pour le batiment. Quand un batiment est sélectionné, la zone d'actions vous détaille l'état actuel du batiment et vous permet de modifier les actions effectuées dans ce batiment. Un batiment pour lequel des ouvrières peuvent travailler aura une barre de contrôle horizontale permettant de choisir le nombre d'ouvrières. un message de type Travaillant 1/5 apparait également indiquant que vous avez demandé 5 ouvrières pour ce batiment et qu'actuellement 2 ouvrières travaillent effectivement. En mettant la barre à 0, les ouvrières ignoreront ce batiment. Vous pouvez augmenter ou réduire le nombre d'ouvrières demandées en cliquant sur les deux boutons aux extrémités de la barre ou à l'intérieur de la barre, vous pouvez également modifier ce nombre en utilisant la molette de votre souris ou les touches + et - du clavier. Certains batiments auront des globs à l'intérieur de temps en temps, par exemple, pour se ravitailler dans l'auberge, ou s'entrainer dans la piscine. Ces batiments ont une barre de progression avec un trait vertical pour chaque glob à l'intérieur. Quand un trait arrive à droite de la batte, le glob sort du batiment. Working on buildingsAll buildings need work at some point - to build them initially, keep them well stocked, repair them when they're damaged, upgrade them as the game moves on, and to destroy them when they're no longer useful. You can assign a number of workers to each building, and your workers will decide amongst themselves which jobs they will do in what order. Creating buildingsThe building menu is the first icon in the sidebar on the right of the game screen. It shows all the buildings you are allowed to create (not all buildings are available in all maps). Hovering the mouse over a building in the sidebar will show you the name of the building and the amount of resources necessary to construct it. To request the building be created, click on the building's icon, then click on the area of the screen where you would like to place the building. There are some places you can't put a building (for example, over a forest or in the sea), but you can request a building be placed in an undiscovered part of the map or on a spot which has units on it. A forbidden area will be set there, and the building will be set down as soon as possible. When you are choosing a place to put a building, a white border will be drawn around the building. The border turns red if you move your mouse over an area that the building is not allowed to go. Some buildings will grow if you upgrade them later, so a second white border is drawn around the building at the size it will eventually reach. When a building is first requested, one worker is asked to build it. You might want to increase the number of workers if you need the building in a hurry. Destroying buildingsSometimes, you will want to destroy a building you own - for example, because it's obstructing an important route for your globs, because you created it accidentally, or because it's become obsolete. You can do this by clicking on the building to select it, then clicking on the "Destroy" button in the bottom-right corner of the screen (or by hitting 'd'). Be careful, as the building will disappear instantly, and you won't be asked if you're sure before it's destroyed. Upgrading buildingsCreating a school allows you to train workers in advanced building techniques. Once a worker has gone through school, he will be able to upgrade buildings. Since schools can only teach a few workers at a time, you shouldn't start upgrading your buildings until quite a few workers have been educated. Upgrading a school allows you to teach workers even more advanced techniques, and to upgrade buildings even further. Upgrading a building takes a lot of resources - usually more than it took to create the building in the first place. Upgraded buildings can accept more globs at a time and teach skills at a higher level. If you cancel an upgrade and start it again later, any resources that were applied during the upgrade will still be there when you start again. When you have selected a building by clicking on it, you can upgrade it by clicking the "upgrade" button (just above the "destroy" button), or by hitting 'u' on the keyboard. Holding the mouse over the "upgrade" button will show the upgraded statistics of your building next to the current statistics. If the upgrade button isn't there, you can't upgrade that building right now. This is usually because you don't have any workers trained to upgrade it, or because upgrading the building would require it to expand, and there's no space for it to do so. Repairing buildingsBuildings that have been damaged in an attack should be repaired, which again means shutting them while work is done. Repairing buildings requires resources just like upgrading them does. The "repair" button appears instead of the "upgrade" button on buildings that have been damaged, or can be activated by hitting 'r' on the keyboard. Maintaining buildingsSome buildings need constant maintenance - for example, inns need to be continuously resupplied with wheat. Your globs will automatically assign themselves to these jobs, but you will need to set the number of globs you want working on each building. Description des batimentsRuche
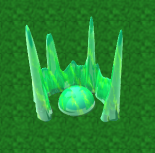
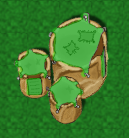
Produit les globs (ouvrières, exploratrices et guerrières). Chaque glob coute 5 unités de Blé à produire.
Si toutes les barres sont à 0, aucune glob ne sera produite ; si une seule barre n'est pas à 0, seules les globs correspondantes seront produites, ...
Auberge
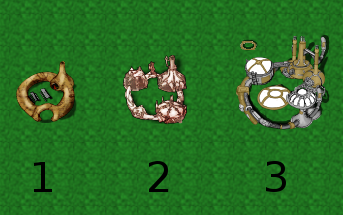
Fournit de la nourriture aux globs. Les globs ont besoin de manger régulièrement, sinon elles mourront de faim, il est important d'avoir assez d'auberges pour nourrir toutes les globs. Les auberges peuvent contenir des fruits, qui sont des éléments avancés de la stratégie du jeu.
Aperçu
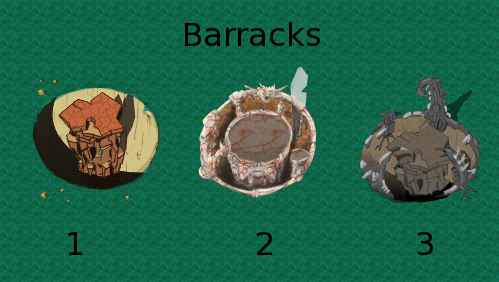
BarracksTeaches warriors higher attack speed and attack strength. Barracks are sometimes referred to as "camps" or "training camps". Level one
Level two
Level three
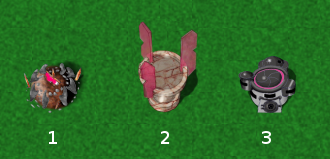
Defence towerAttacks nearby enemy units or buildings. Defence towers need to be filled with stone, which they turn into bullets. When they're full of bullets, towers can stockpile enough stone for one complete refill. Towers need a lot of maintenance when they are in use, to keep them well stocked. See the section on speeds for a discussion of ticks. Level one
Level two
Level three
HospitalHeals injured globules. Globules that are losing health due to starvation can't be healed until they've had some lunch. Level one
Level two
Level three
MarketUsed to trade fruit with other players. You can specify whether you would like to import or export each type of fruit by clicking on the left or right radio button next to that fruit. For more information on using markets, see the fruit section. Markets store fruit in a global container used by all markets a player owns. This allows them to be also used to "teleport" fruit from one location to another. This building cannot be upgraded
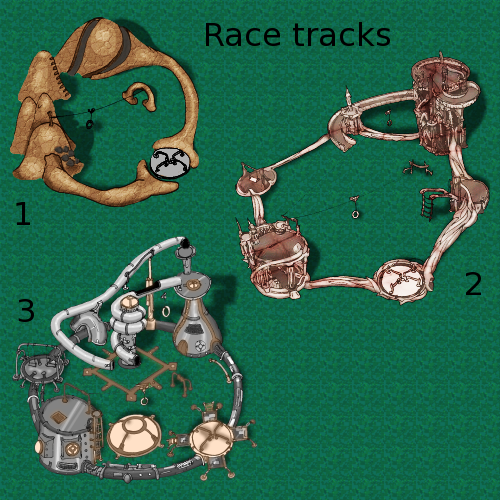
RacetrackTeaches warriors and workers to walk faster. Level one
Level two
Level three
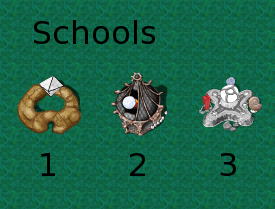
SchoolTeaches workers how to build and harvest. Level three schools count towards your prestige and can teach explorers how to attack ground-based targets. Level one
Level two
Level three
Stone WallProvides a barrier to block resources from being grown and to keep out invaders. This building cannot be upgraded
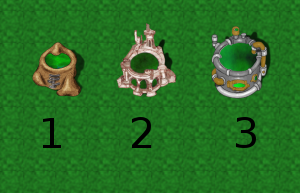
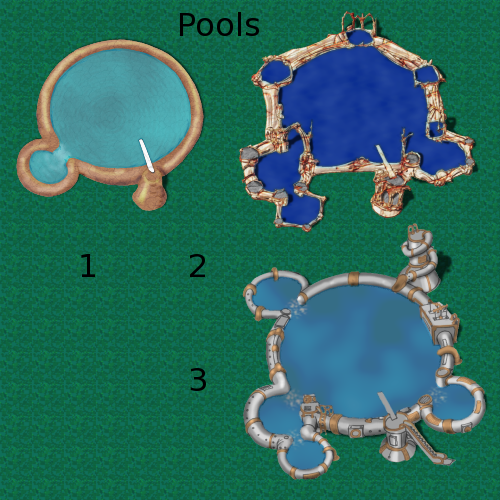
Swimming PoolTeaches workers and warriors to swim. Since globs can't swim at all without training, level one swimming pools teach swim(1), level two pools teach swim(2), and so on. Level one
Level two
Level three
Building strategy
| |||||||||||||||||||||||||||||||||||||||||||||||||||||||||||||||||||||||||||||||||||||||||||||||||||||||||||||||||||||||||||||||||||||||||||||||||||||||||||||||||||||||||||||||||||||||||||||||||||||||||||||||||||||||||||||||||||||||||||||||||||||||||||||||||||||||||||||||||||||||||||||||||||||||||||||||||||||||||||||||||||||||
